How to build a mast ladder by yourself to climb solo to the top of the mast
Greetings sailors,
Today we are going to see how to make a mast ladder to be able to comfortably climb the mast of our boats for about 50 euros and saving us more than 800.
This will even allow you to climb comfortably and quickly alone.
Climbing the mast of our sailboats is a necessity that we can have with certain frequency and that is not without difficulty.
Either to check the rigging, do maintenance of the wind equipment, antennas, and other instruments that rest on the top of it, or simply to install a new gadget that arises from the ideas that we propose in this blog, having the possibility to climb the mast comfortably is something very positive.
There are multiple methods to get on it, especially with the help of another person.
The most common: that they hoist you with the main halyard as if they were hoisting the sail, but it is still hard work for you, and for the person, you have committed to help you.
When it comes to climbing without help, the options are more limited and almost all of them involve using climbing techniques to climb with blockers through one of the halyards, even more arduous work if possible.
But obviously there are some very comfortable techniques that are usually the most used by sailors who live in their own sailboats, such as, for example, putting steps to the mast.
Either they are fixed, made with aluminum sheet and riveted along the mast, or folding riveted all over the mast (many holes have to be made) and at a very significant cost (+ 25 euros per step). Even both methods have their aesthetic problems, weakening the pole with so many holes and multiplying the possibility of damaging a halyard that has a tendency to get stuck in them.
What we are going to do is something intermediate between these options, we are going to build a ladder that we will raise as if it were the mainsail, we will tighten it so that it remains well attached to the mast and that will allow us to climb comfortably both with assistance and in solitary. But always securing us by an additional means. This is very important: when climbing the mast we must never rely solely on a single method or anchor point.
So let’s get to it ..
Purchases
For this project we will need to acquire a series of material that will require an investment of about 50 euros for a ladder of just over 12 meters long, taking into account that a ladder of the same length already made costs over 400 euros, it will be a very economical project …
A roll of good quality sewing thread that is suitable for use in a sewing machine, in my case I have bought this and I use it a lot in all kinds of repairs on the boat:

You have it available on amazon https://amzn.to/3tHI2FN
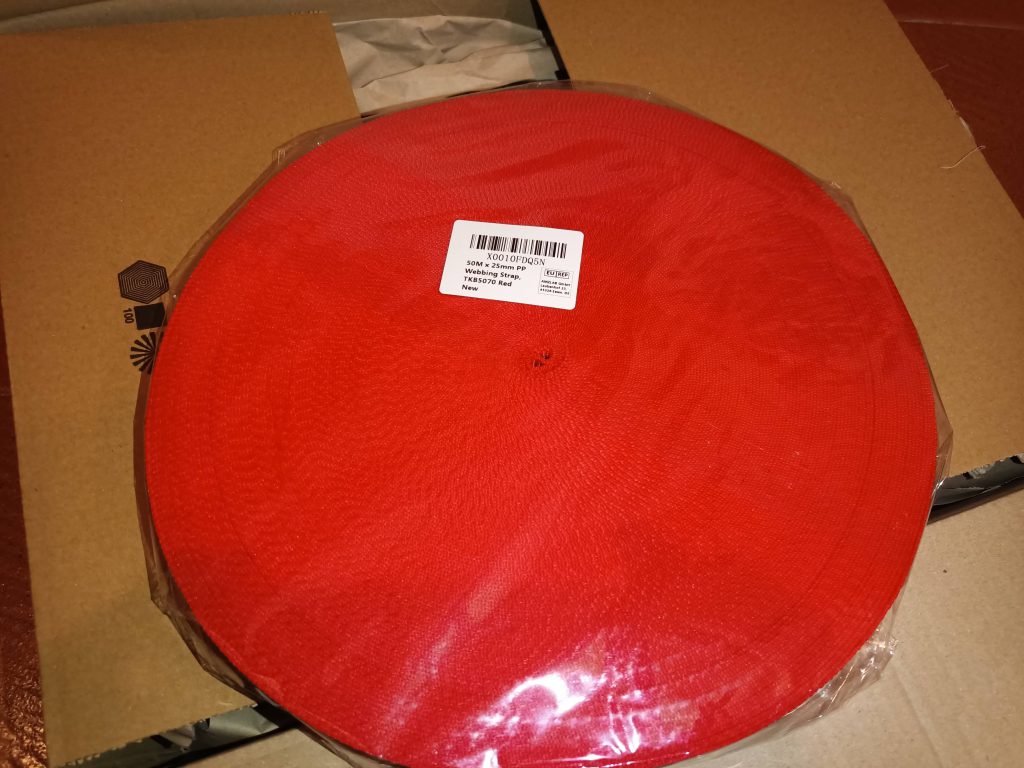
A roll of polypropylene strap 25mm wide and 50 meters long, like the one used in backpack straps, which will be the basis of our scale. I bought this for 15 euros here on amazon:
And finally to make the steps we are going to use a 20mm thick round aluminum tube. 20mm is the ideal thickness, below this thickness it can be bend with your weight (I say this from experience with the 15mm one), so I would recommend at least 20mm.
In our case, we bought 8 meters to make 24 33cm steps for our 12m scale in a DIY store, and we spent about 27 euros. The tube should not be difficult to find at any DIY store, you went to buy it at bricomart.
https://www.bricomart.es/tubo-redondo-aluminio-anodizado-20-x-1-mm-1-m.html?___store=default
Apart from the material itself that you will need to make the ladder, you must have some skills and tools, mainly: metal saw, drill, drill bits, some sewing needles, a sewing machine and the ability to use it.
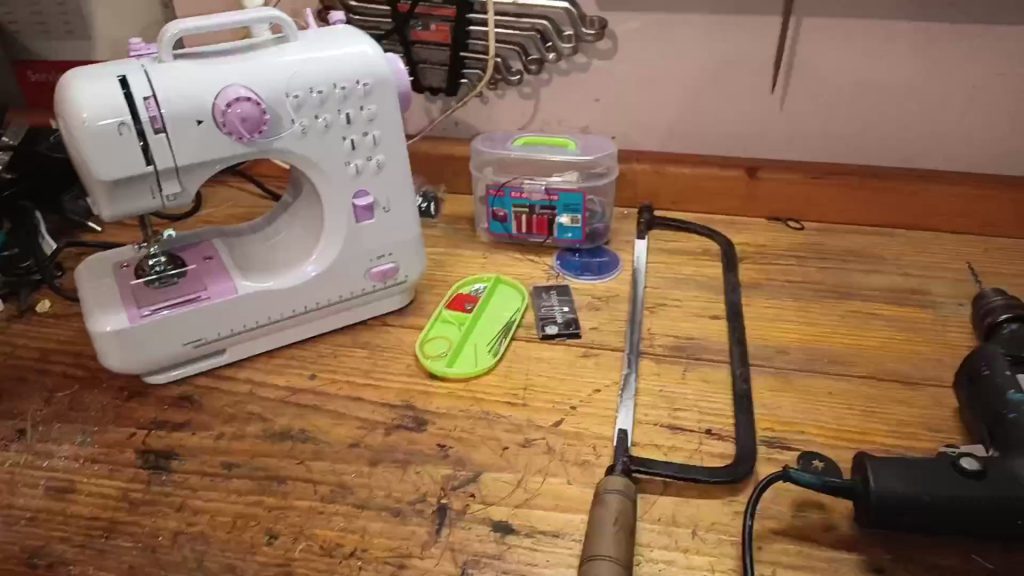
Do not be scared with the sewing machine if you do not already have it. Having a sewing machine, if you have a boat, will save you a lot of money and for this mission the knowledge you will need is very little, because you only have to make very long straight seams.
I bought a very cheap sewing machine on Amazon (https://amzn.to/3cNUBJj) for less than 50 euros and I am learning with it. I have done this project and some other repairs on the boat .. They also say that the LIDL sewing machine works very well, ..
Making
Well, let’s get to work, the time has come to start.
The first thing we will do is fold the strap in half and sew the two halves together with two seams along the entire tape. This is where you will quickly acquire skill with the sewing machine. You can see the process in detail in the video of this post.
The objective of these two seams is to make the strap twice as thick and at the same time have the opportunity to insert the steps between the two already sewn straps.
In order to determine in which position each of the steps will go, we will fold the strap in half again and there we will mark the position of the first step, 60 centimeters from the fold, and the rest of the steps, which will be 40 cm , these being the marks that we have to make by measuring on the folded strap (so we will mark both halves at the same time).

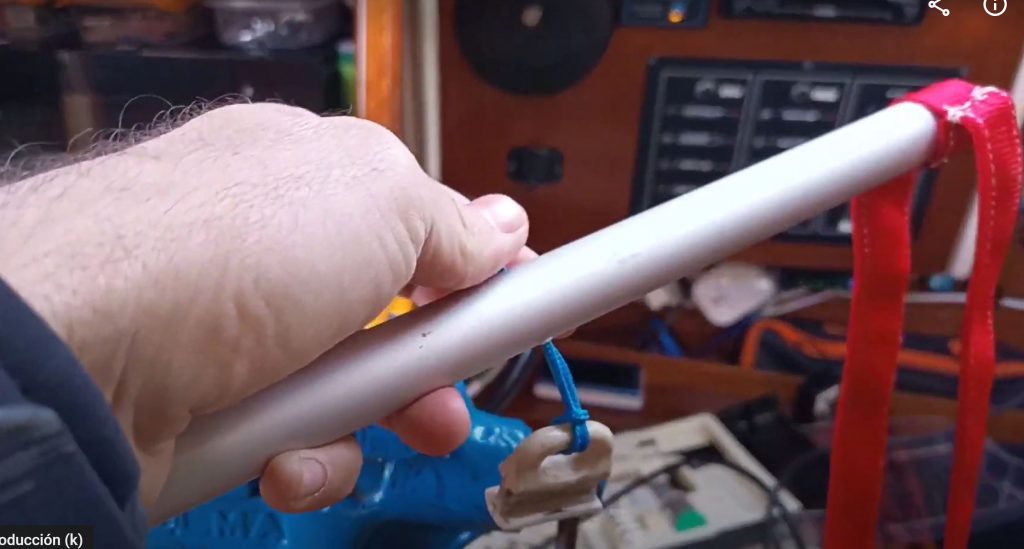
Once we have the strap ready, we are going to prepare the steps. From the aluminum tube that we have bought, we will cut smaller pieces, 33 cm, so from each meter of tube, we can take 3 steps.
Once the steps are cut, we are going to make a hole for each one on each side, which will help us to better sew them to the straps and prevent them from moving transversely.
And once we have everything prepared, it’s time to sew the steps. The operation is going to be very simple. In the position that we have marked on the tapes for each step, we will open the seam that we made by machine at that point a little, enough to be able to insert the corresponding end of the step between the tapes, and then, by hand, we will sew over and below the step (at least three passes below and two above), using the hole to pass from one side to the other, with which we will be able to fix the steps in their position.
We will repeat the operation for each end of the step and in the same way for each step, checking that the alignment is correct (if you marked the tapes correctly, the alignment will be adequate).

So, with patience, and while we watch something on television (I had time to watch two movies on Netflix while sewing the steps), we will have our scale finished.
The detail of sewing the fold of the upper end of the scale is very important, so that it does not slip if we step on one end or another of the steps.

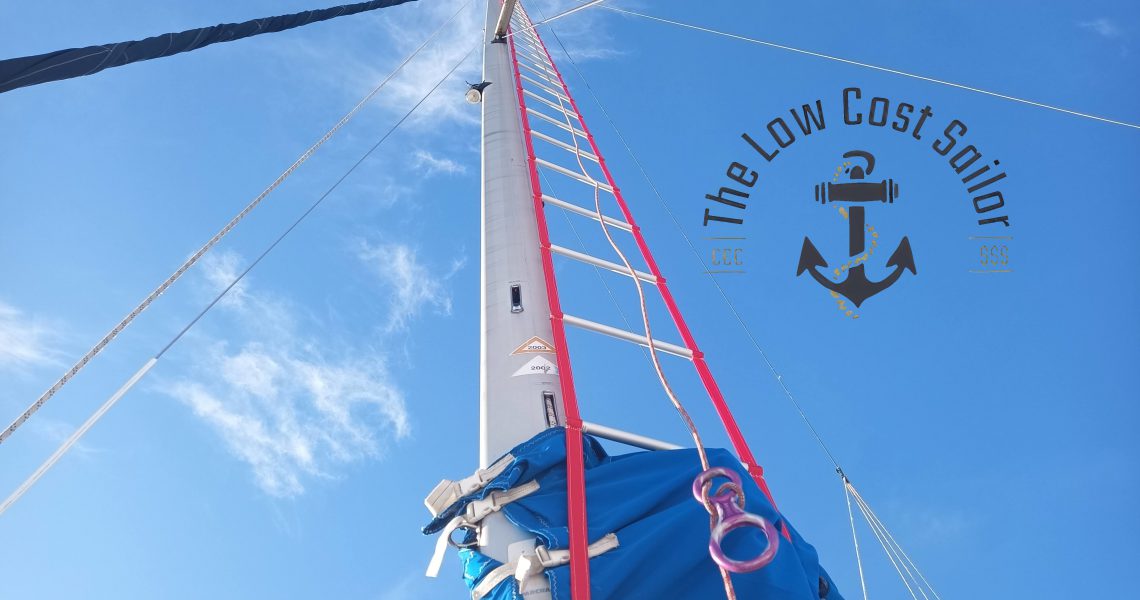
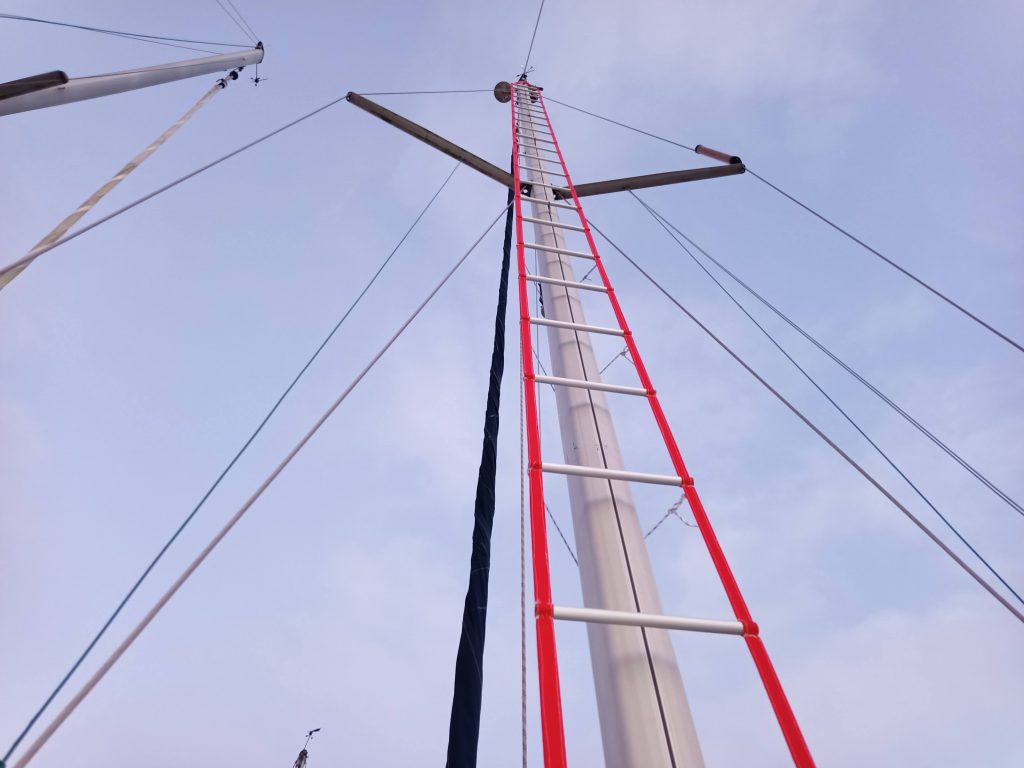
So after a lot of effort you will have something like this:

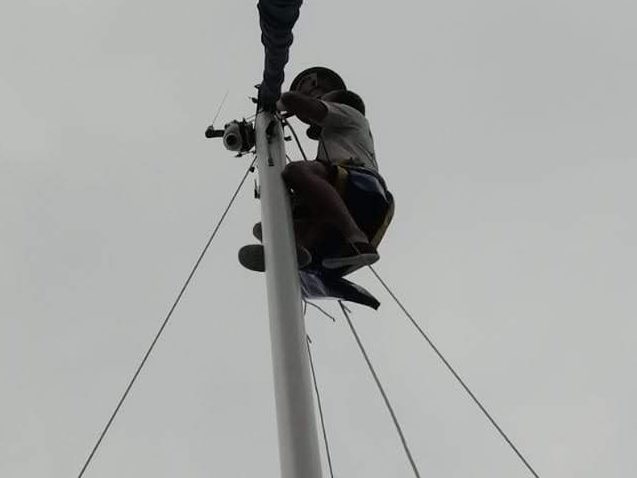
And finally it’s time to go up
It is very important not to rely solely on the ladder .. it is very dangerous .. whenever you climb the mast you have to be secured to at least two different systems ..
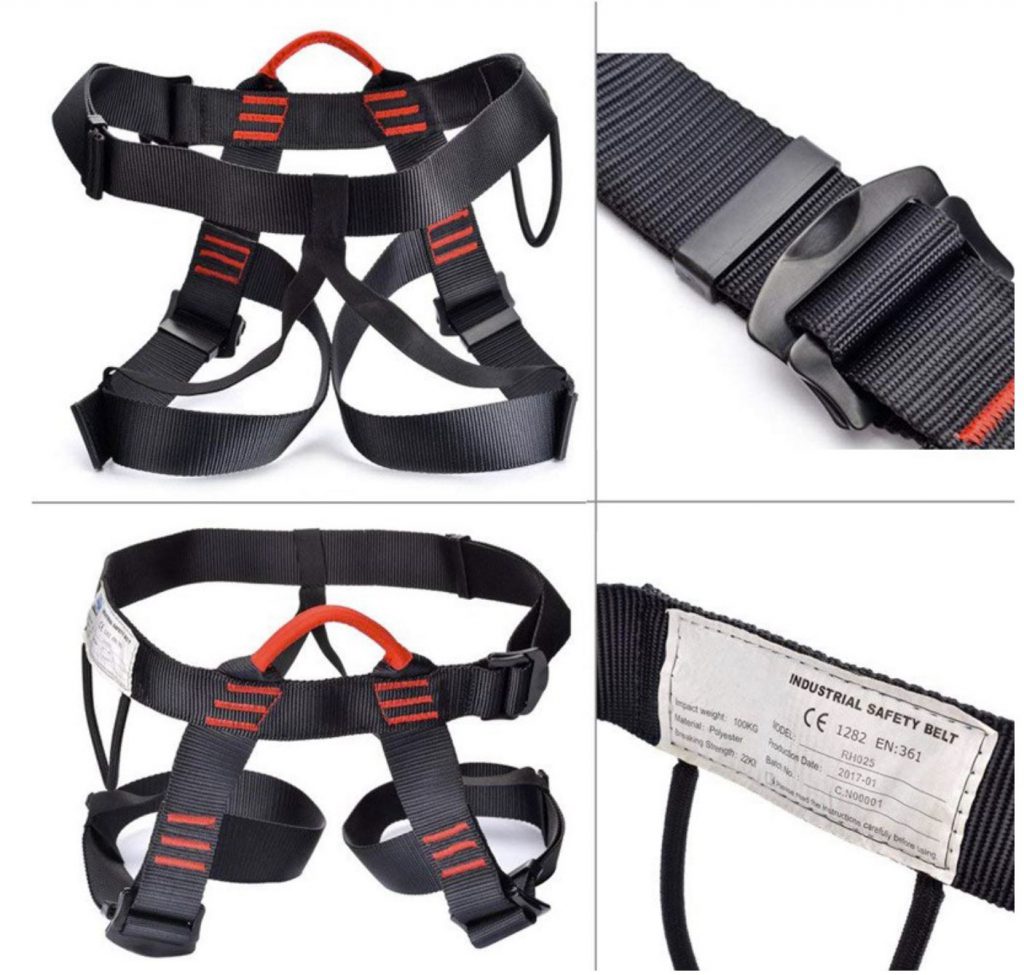
So take a climbing harness or similar and with a blocker or with a Prusik knot, secure yourself to the other halyard while you go up, or if you have help … tie yourself to the halyard and have a friend assure you from the corresponding winch (in the video you have more details on how to do it).
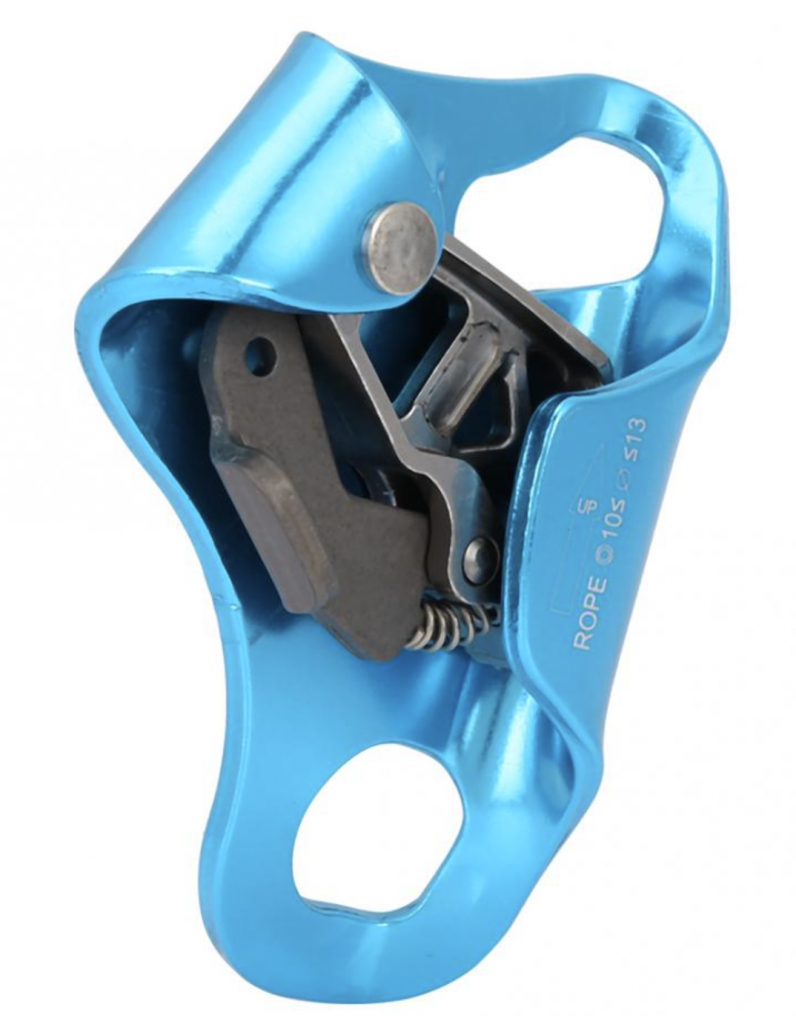
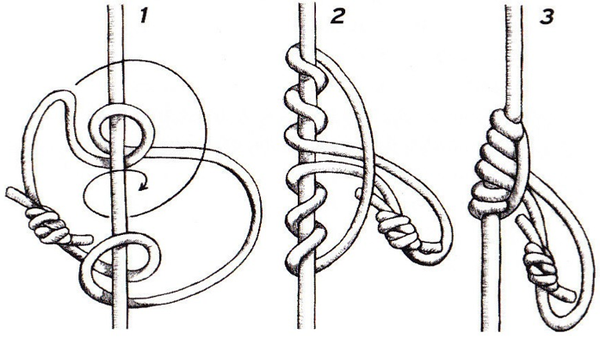
As for self-belay … a blocker is an instrument that only runs in one direction on the rope, the low-cost version of it is a Prusik knot … It can be easily moved by hand, but if you hang onto it, it blocks in front of the rope preventing you from falling.
For the climb you can also put a strap around the mast secured to your harness to ensure that you do not separate too much from it or the ladder.
The descent is a bit more complicated by self-belaying, but you can use a climbing eight or another type of brake and rappelling techniques to be sure or the same Prusik knot, lowering it with your hand as you go down.
But seriously … do not skimp on making sure you are safe … always secure you at least two points and if you can three, then better.
Conclusions
The scale is magnificent to climb: with your hands around the mast and the blocker can climb just alone without any problem … the worst thing is the possibility that it will separate from the mast if you hang on it so it is very important to tension well the lower end of the same so that it always works in tension and remains close to the mast … or better yet, secure it to the mast while climbing or through the mainsail skates, putting a skate every four steps, or some ropes through the steps below the crosspieces, something like this:
In that case, we will hoist it like the mainsail and it will stay well attached to the mast all the time, although to hoist it you have to remove the mainsail from the rail, which makes it a bit messier.
As for its construction … Well, once I have finished it, I see it as having been worth it … but at least 5 hours of work await you ahead, so if you are not very skilled and you can afford it, you can also consider buying one already made ..
Of course, prepare to pay around 900 euros, for something you can do yourself for 50.
Kinlevenmarine makes a fabulous one, as well as very expensive .. https://kinlevenmarine.com/shop/yacht-mast-ladder/ but there is no denying that she looks fabulous.
I am very happy with the work I have done and I am sure that I will put it to good use … and surely you too if you follow my channel and start putting more inventions on the masthead of your boat …