Low cost remote control for your anchor windlass
Greatings sailors,
Today we are going to install a remote control for our anchor windlass.
When I bought my boat, luckily, it already had an electric windlass to raise and lower the anchor. Truth be told, it is very convenient when anchoring and also it allows you to have many meters of chain to release and collect comfortably.
In most common installations, the electric windlasses have a pair of buttons next to the anchor well itself to be able to raise and lower it, which allows you to see how the anchor chain moves at the same time you push them with your foot or by hand.
But when you sail solo and you have to drop anchor or pick it up in a small space or with strong winds, It is a great advantage to be able to do it from the cockpit while controlling the boat with the engine.
Searching on the internet and seeing the sale price of the controls for the windlass, even the wired controls, it almost get out of my mind to buy one …

But then, my friend Aliexpress was there to give me a low-cost alternative that it would work.
And today’s post is about that, about how to save 200 euros and have a remote control for the boat for 12 euros.
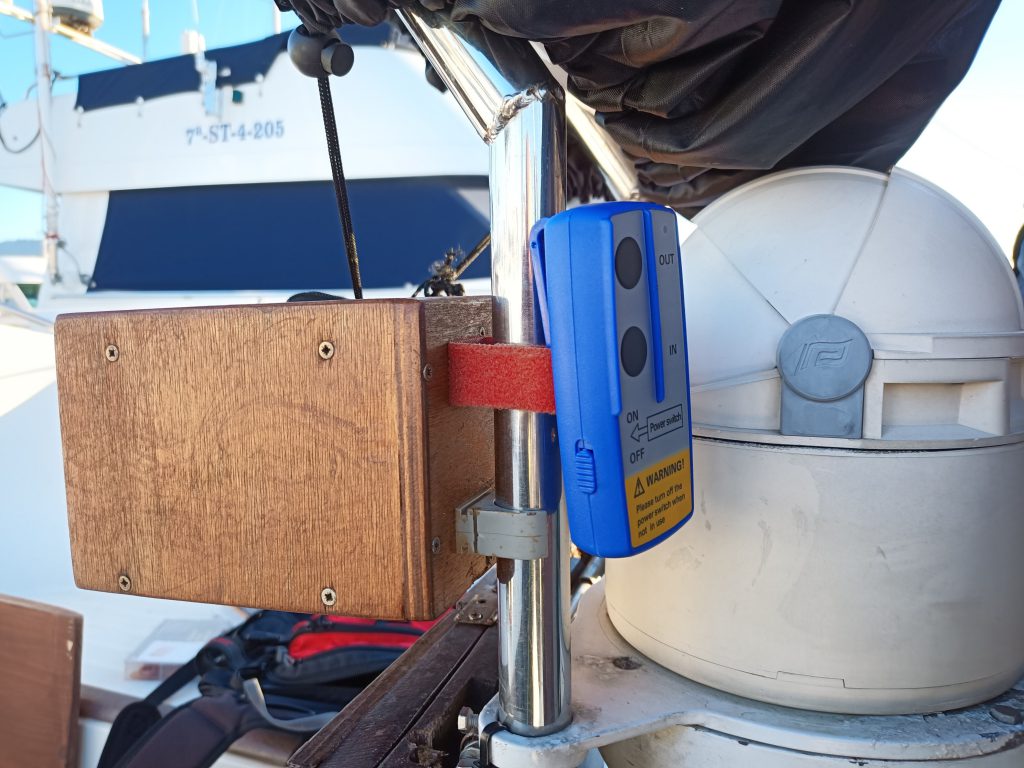
The first thing is to buy the remote control. In my case, I have bought this one:
https://s.click.aliexpress.com/e/_9i1Nx0 but you also have the same model available in Amazon and other stores on the Internet. In my case, after buying it, I received it at home a couple of weeks later.
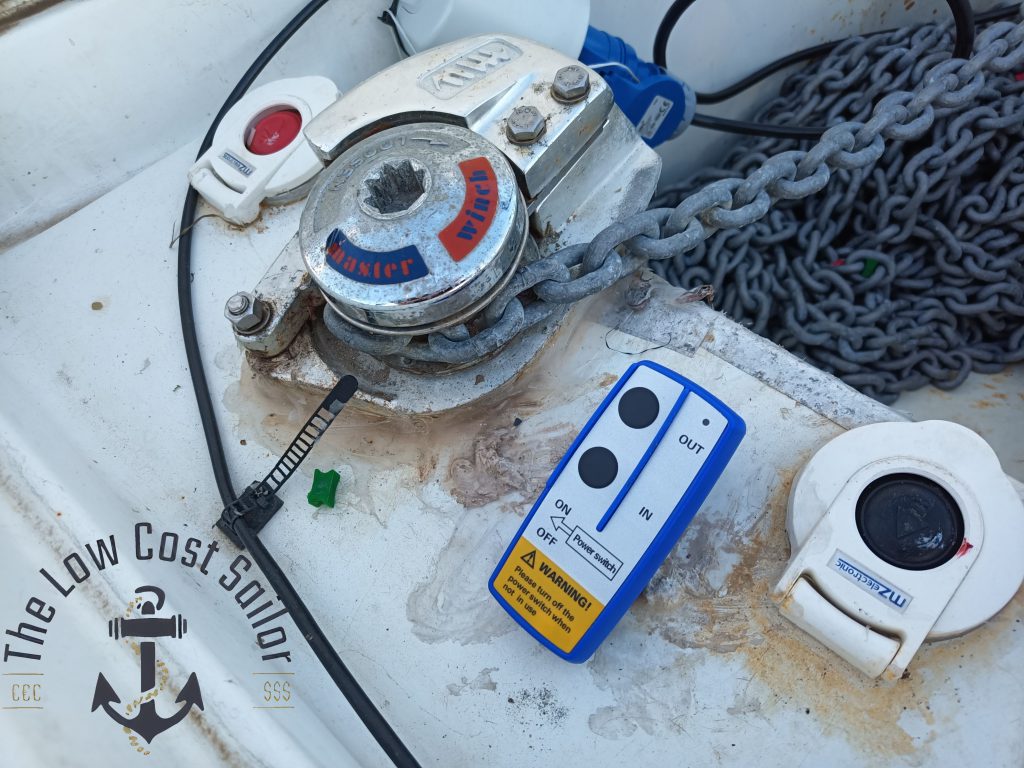
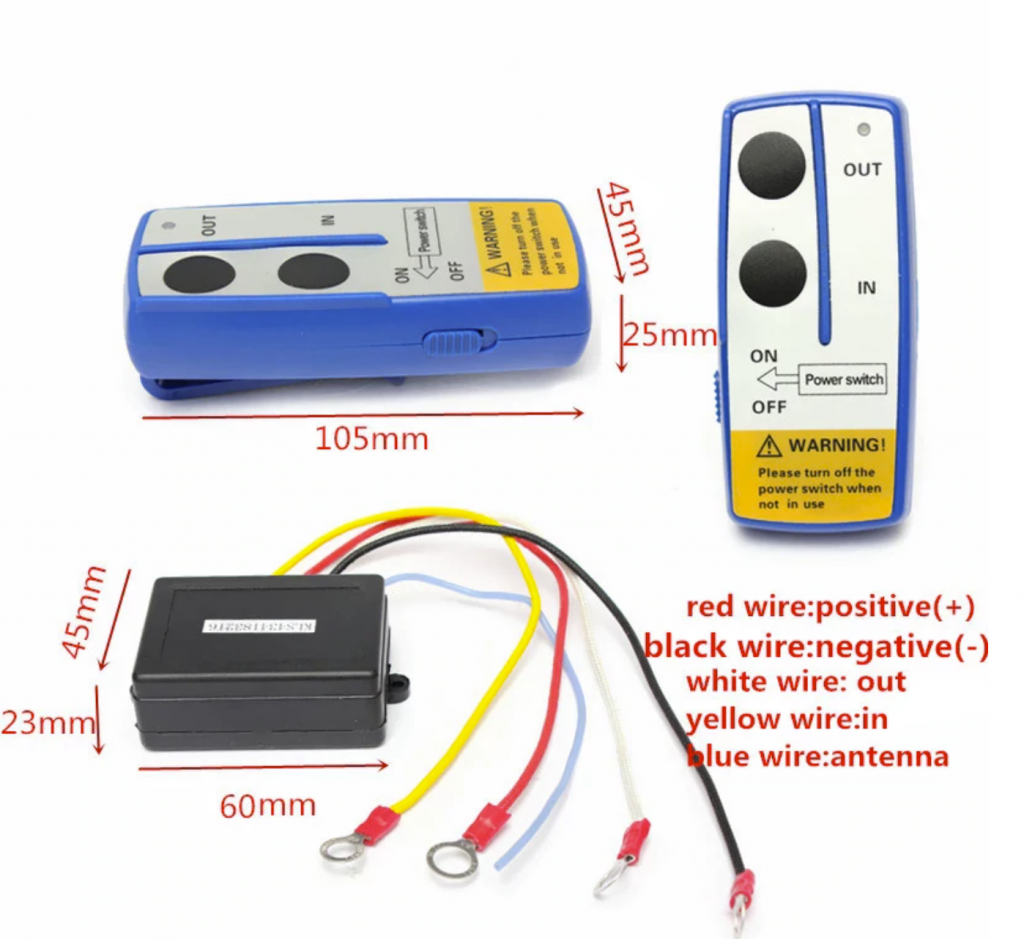
The contents of the package were: two controls, the controller box and some instructions sheet, which fortunately this time it was not in Chinese.
As for the installation, it is quite simple: Your windlass will be powered by some very thick cables that will come from one of the batteries of your boat. These cables will go into something that is usually called a relay / solenoid that will ensure that the current peaks necessary to move the motor do not have to pass directly through the control buttons, and to control the direction of rotation of the motor.
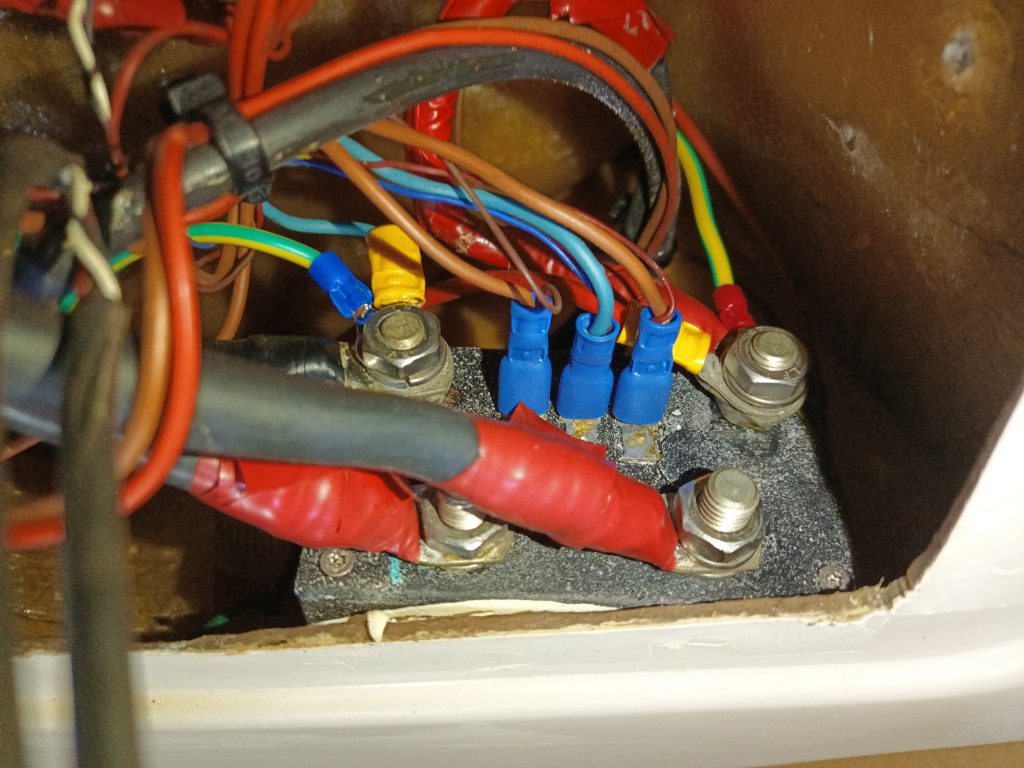
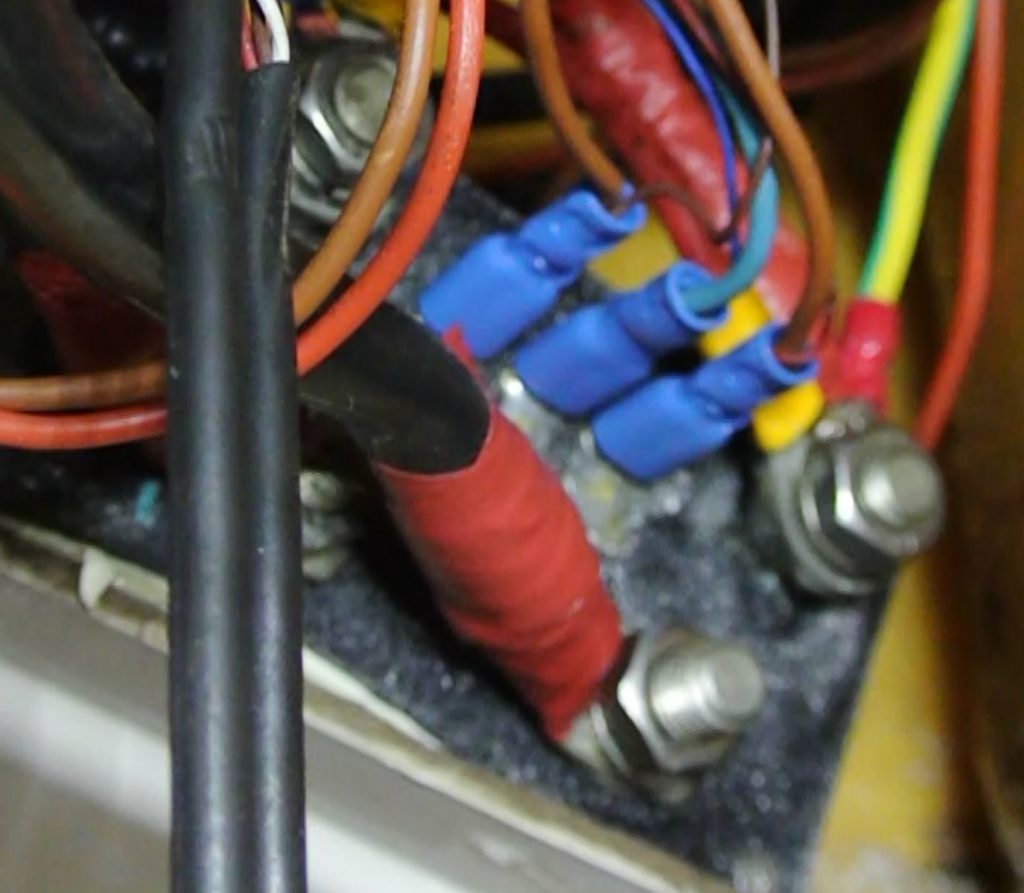
As you can see in the photo, there are two thick input cables that are the ones that come from the battery and two thick output cables that are the ones that go to the motor. Additionally, in blue, you see the three control cables. The central one is simply connected to ground and the other two allow us to decide the direction of rotation, if we put twelve volts in one of them the motor turns in one direction, and if we put them in the other it will turn in the opposite direction.
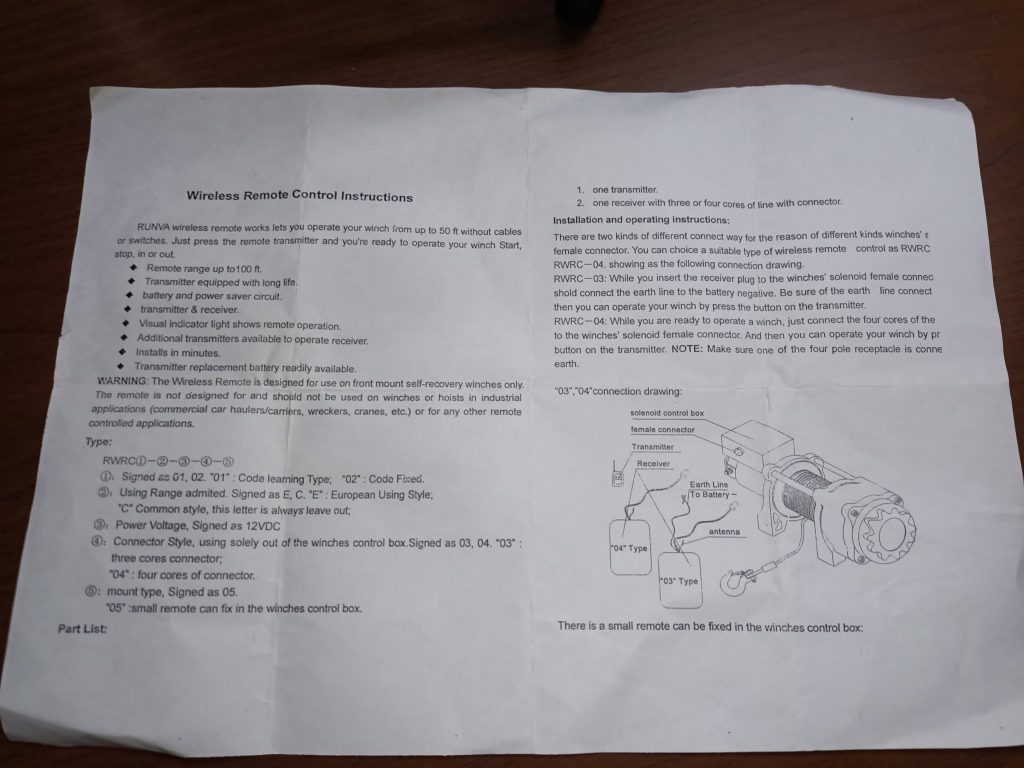
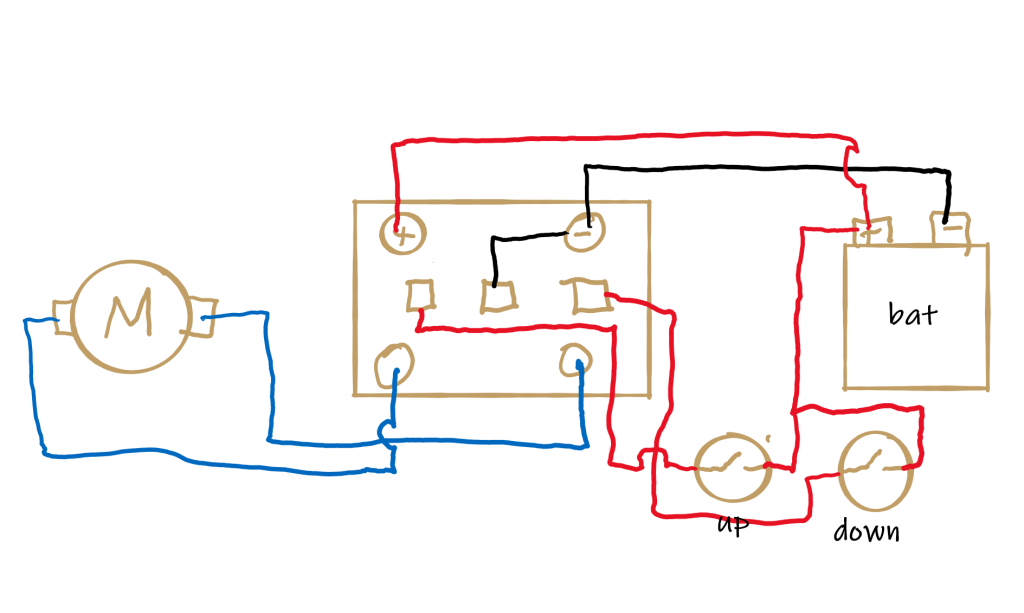
The original conexion schema of the windlass was like this:
And basically what we are going to do is connect the control box that comes in our kit so that we feed it through the red and black cables connected to the battery and each of the control cables of the box will be connected to each of the control lines. In this way, when we press the out button on one of the remotes, the white line will have 12v and when we press the in button, the yellow line will have 12v.
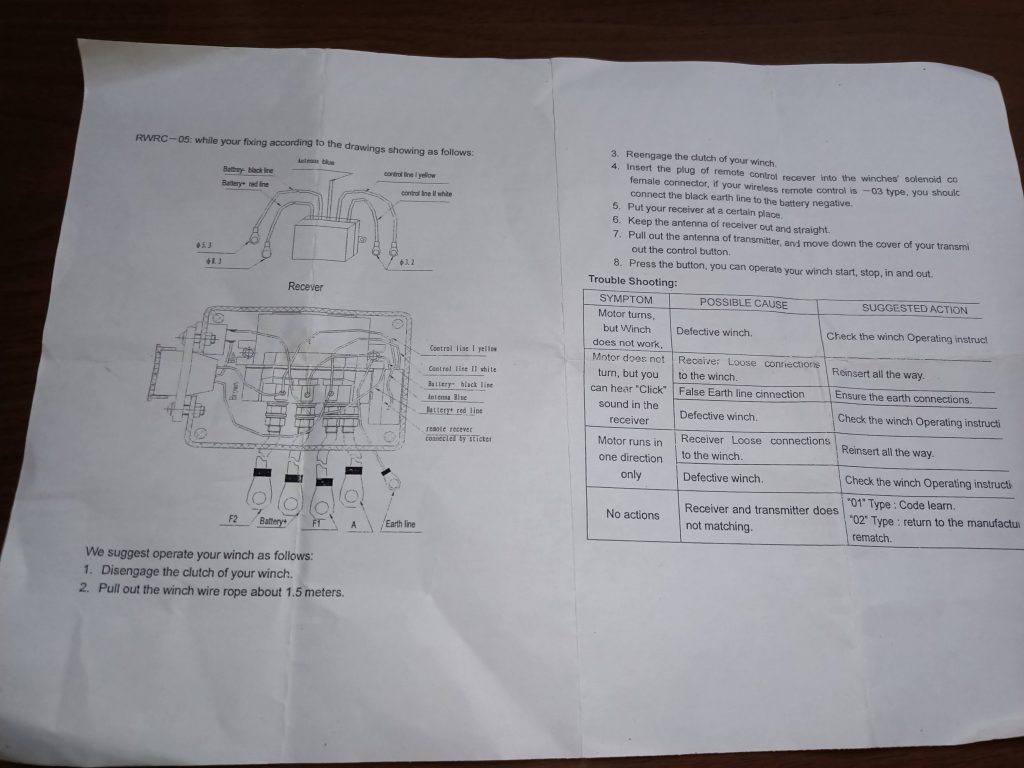
Basically it will have to be connected as it is in the following diagram:
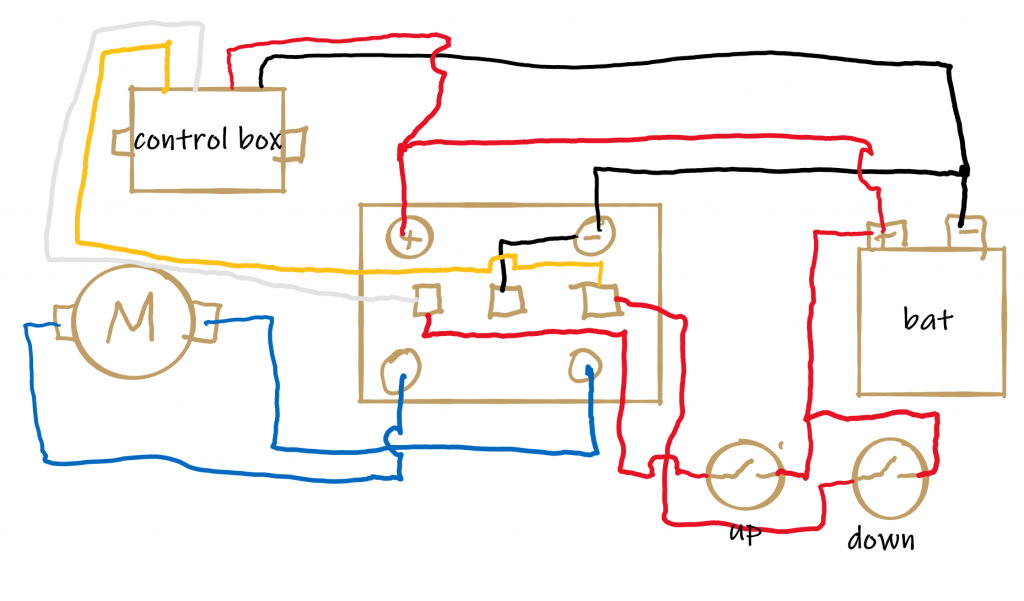
Once the connection is finished, you will have your controls working. In my case the tests have been very good, I can use the windlass from anywhere on my boat, and the operation is smooth and reactive. If you hold down any of the buttons, the motor rotates continuously until you release it, and it responds very quickly to keystrokes.
In any case, I recommend you to see the complete process in the corresponding video on my YouTube channel, if you do not follow me on YouTube, do not hesitate to do so. And you can make any comment or suggestion through any of my social networks that you have links in the “about me”, and by the way you can follow me, propose ideas or give me many “likes” that always come in handy.